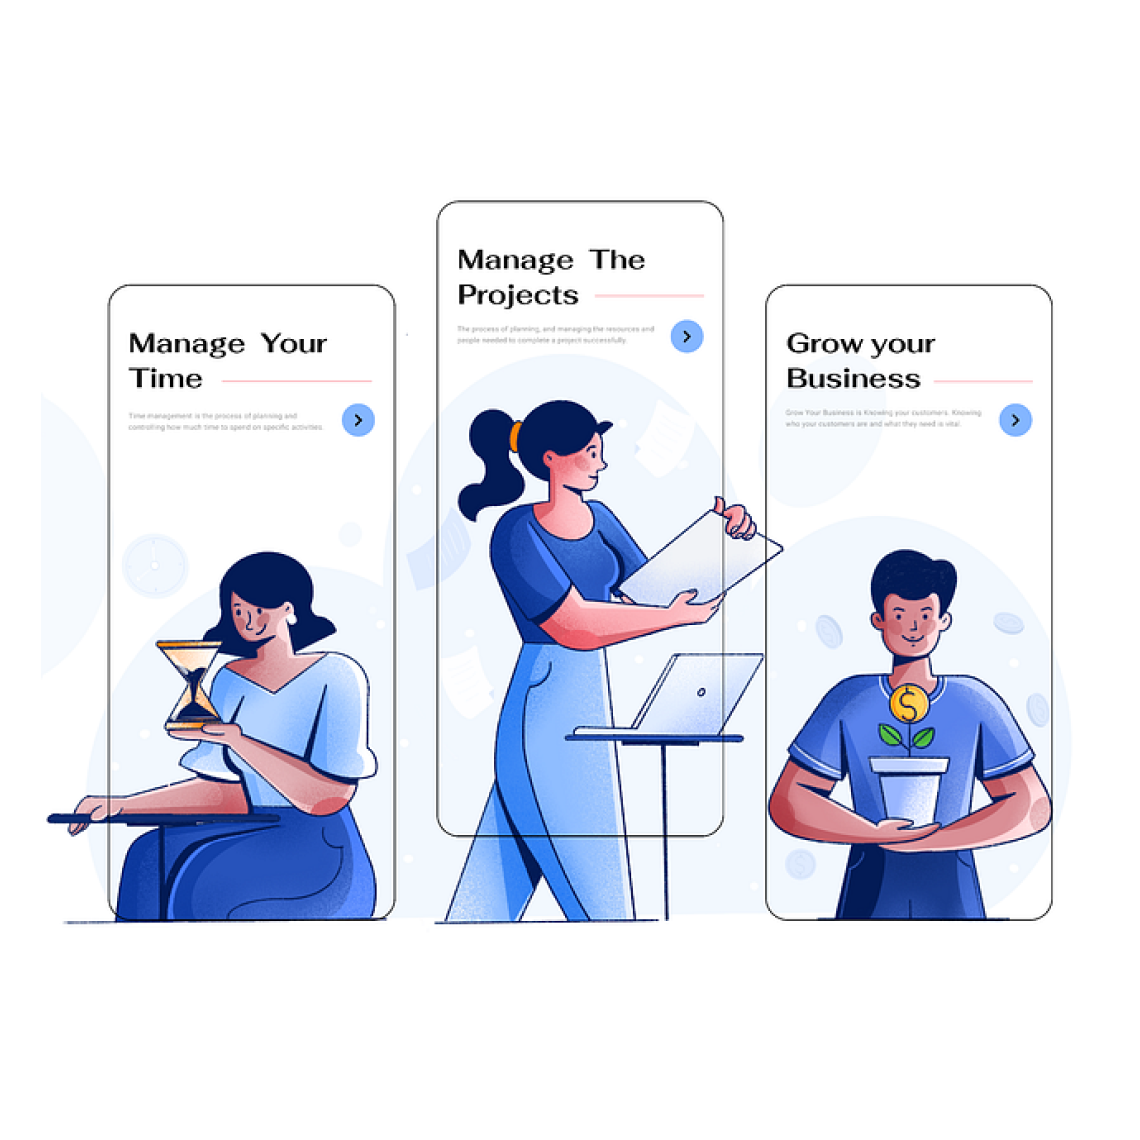
We may know that illustration means visually illustrating any idea or written text which explains an idea or tells a story. That is the reason why brands use illustrations to convey their stories to the target audience.
You can see or notice illustrations almost everywhere but in different styles or art forms. But how to do this? How to conceptualize, create, and use illustrations in a UX and UI design project?
Today we’ll talk about the process of UX design illustration for projects. So let’s take a deep dive into the process.
The process of creating illustrations can be broken down into 6 steps:
1. Brief of the project
2. Exploring Ideas
3. Sketching
4. Color palette
5. Start digitalizing the idea
6. Finalization
1. Brief of the project
When we start any project illustration, we start with a design brief that we get from the client.
A bit confused?
Ok, so let me tell you what an illustration project brief is and what it consists of:
The project brief is the information about the brand or project provided by the client and this consists of the Project name, Company details, Brand details, Color palette, Idea needed to be implemented, Competitors, Size of design, format, Target audience, References, Design style, etc.
It’s a great start if the client provides all the above details but if a few are missing or the client is a bit confused then you need to do some research relevant to the information they provide as a starting idea.
2. Exploring ideas
If the client shares the illustration style we have to look for the ideas but if they are not sure about the style and want our help to finalize the style then we have to shortlist some trendy, classy designs according to their (client) requirement and make a mood board so that client can select one of the styles from the mood board.
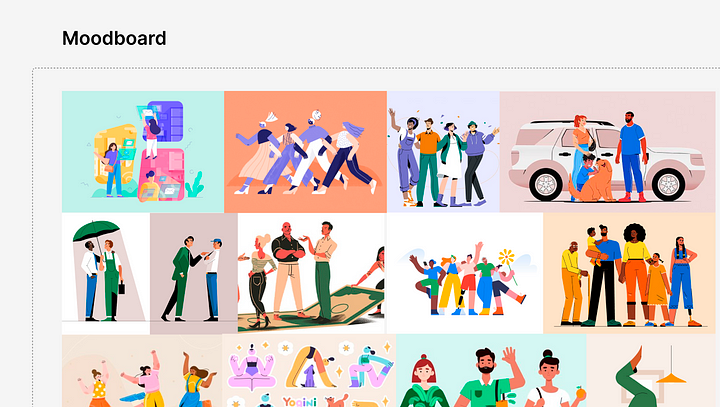
Once the style of design is finalized we need to explore the idea and look for inspiration before starting a sketch.
We can find inspiration from Google, Pinterest, Dribbble, etc. if you still have not found the idea then you can go outside and take inspiration from real life. This process will give you a lot of ideas you are searching for.
I prefer going out, and exploring real-life things instead of searching on the internet.
Sometimes I draw live, sometimes I take pictures. Later I compose and draw in my style. After exploring the ideas, collect all the ideas and create an idea board to keep all the pictures and creatives in one place to be able to easily step into the sketching part.
3. Sketching
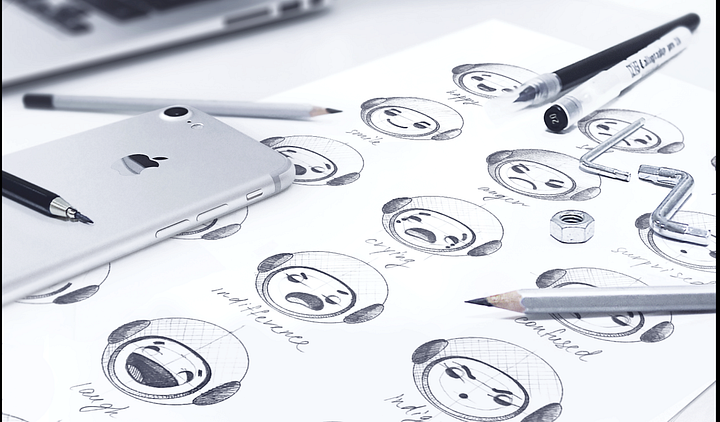
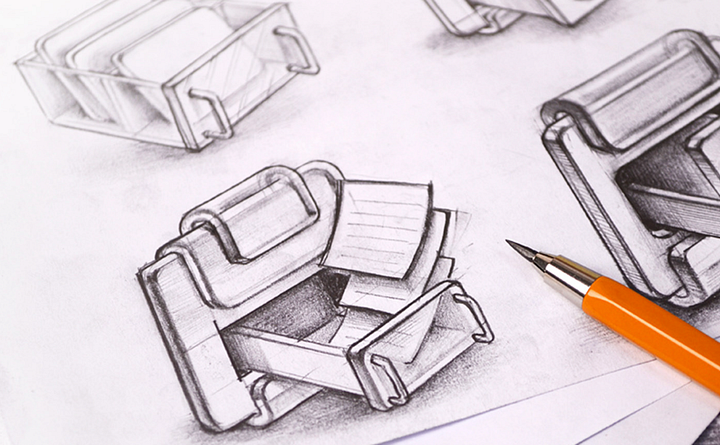
It’s time to pick ideas from your visual references and start sketching.
You can draw more ideas if you are not satisfied with the first one. Just draw some quick sketches of the ideas and pick one of the best ideas or you can ask for the help of your teammates to select the best and then refine or polish that one of the best sketches.
4. Color Palette
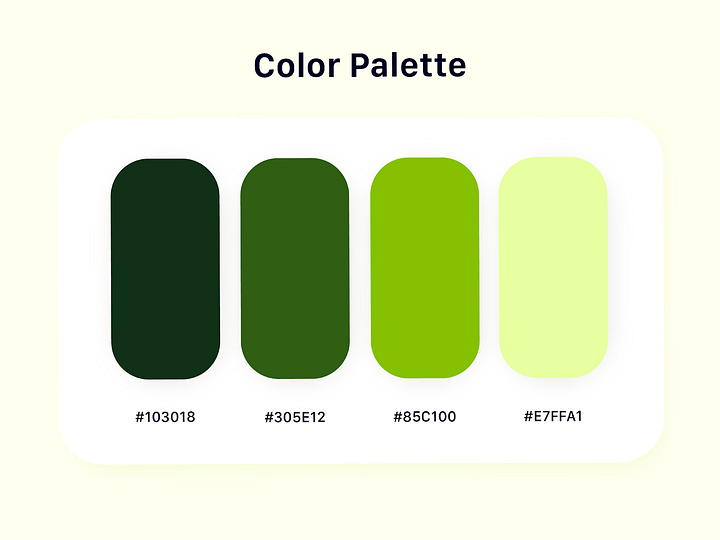
Colors play an important role in any design. For any design, picking the right color is primary. It is the color that grabs the attention of the audience so take your time to create the color palette and find the right one for the type of illustration you intend to do.
If the client provides the colors that’s great but if they don’t have colors or just have their brand color and want you to create one then you can make a color palette according to the brand and the message they want to convey through the illustration.
Some artist pick colors from other artworks which has good colors or you can make your own color palette if you have good knowledge about the colors.
5. Start digitalizing the idea
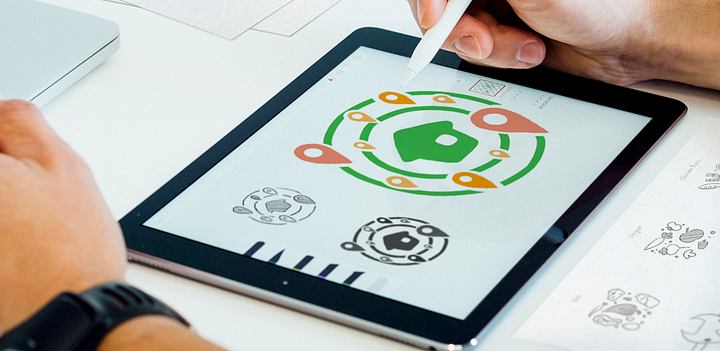
After selecting the colors, it is now time to start digital. We block out shapes and fill in the colors. We add dark shades for the shadow and light shades of color for the highlights.
We apply the colors according to this ratio: 60% of primary color, 30% secondary, and 10% tertiary.
After that, we again refine the composition. we also think of adding new elements to the design and giving some breathing space. At this point, designers can add some texture to give a real feel to their artwork.
6. Finalization
After completing the illustration design, think of ways to improve it. At this stage, we can compare our artwork with the style client selected or shared and we do improvisation if needed.
Conclusion
UX Design Illustrations play a central role in efficiently communicating what a brand or product is all about to the customers. They are a powerful means of storytelling that can enhance the overall experience of people as they interact with a product.
Therefore, while creating a set of illustrations for a product, make sure that they look natural and express the brand’s voice perfectly. You can add some details to make it more attractive and always check the depth, shades, and lights of the design.
Always remember little things like texture, shades, and lights matter in our artwork so don’t keep it flat or simple. Always explore and build illustrations in your style and give them a unique touch.
